Are you looking to speed up your website’s loading times? A content delivery network, or CDN, can help. But what if you don’t want to use a third-party CDN? So, How To Use Your Own CDN?
In this article, we’ll show you how to set up your own CDN using Breeze. Let’s get started!
What is Breeze WordPress Cache?

WordPress is one of the most popular content management systems (CMS) in the world, powering millions of websites. A key reason for its success is its flexibility – WordPress can be used for everything from simple blogs to complex e-commerce sites.
However, this flexibility comes at a cost – WordPress can be slow and resource-intensive, especially when compared to more specialized CMSs.
One way to speed up WordPress is to use a caching plugin like Breeze. Breeze cache is a WordPress plugin that helps to improve performance by caching static files and database queries.
This can lead to faster page load times and reduced server load, making it an essential tool for any WordPress site. While there are many caching plugins available, Breeze stands out due to its ease of use and comprehensive features.
If you’re looking to speed up your WordPress site, Breeze Cache is definitely worth a try.

What is Pull CDN?
Pull CDN is a content delivery network that delivers your static content (images, JS, and CSS files) from our edge servers worldwide.It’s the perfect complement to your existing website, or can be used as a standalone CDN.
We have an Anycast IP address which means we have over 70 PoPs (Points of Presence) around the world. This gives us a huge performance advantage over traditional CDNs who rely on a single IP address per region.
Our network is also built on top of Anycast DNS which further improves performance and resilience. We offer both IPv4 and IPv6 so you can be sure your content is delivered fast no matter what.
And because we use HTTP/2 our connection overhead is very low, meaning your content is delivered even faster! So if you’re looking for a fast, reliable, and affordable CDN then look no further than Pull CDN!
What is Push CDN?
Push CDN is a relatively new type of content delivery network or CDN. Rather than relying on caching to deliver content quickly, push CDNs use a “push” model in which content is constantly being sent out to edge servers around the world.
This means that when a user requests a piece of content, it can be delivered almost instantly, without having to wait for it to be cached. Push CDNs are particularly well-suited for delivering large, static files such as videos and images.
Because there’s no need to wait for the content to be cached, Push CDNs can provide a significant performance boost compared to traditional CDNs.
Additionally, Push CDNs can be used to deliver live content, such as video streams. If you’re looking for a quick and easy way to improve the performance of your website, Push CDN may be the right solution for you.
List of Popular CDN Services Compatible with Breeze
Breeze is a content delivery network (CDN) that offers a variety of features to help you improve your website’s performance. One of the most popular features of Breeze is its compatibility with a variety of popular CDN services.
This means that you can use Breeze to improve the performance of your website even if you’re using a different CDN provider. The following is a list of popular CDN services that are compatible with Breeze:
- Cloudflare
- KeyCDN
- MaxCDN
- StackPath CDN
- Amazon CloudFront
Each of these providers offers different features and pricing plans, so be sure to compare them carefully to find the best fit for your website.
Breeze makes it easy to get started with a new CDN provider, and its compatibility with these popular providers means that you can easily switch to Breeze if you’re not satisfied with your current CDN service.
How To Use Your Own CDN with Breeze?

One of the great things about Breeze is that you can use your own CDN with it. There are a few steps involved in setting this up, but it’s definitely worth it if you want to improve your website’s performance.
First, you’ll need to create a CNAME record for your CDN. This will tell DNS that your CDN is an alias for your website. Once you’ve done that, you’ll need to set up your CDN to work with Breeze.
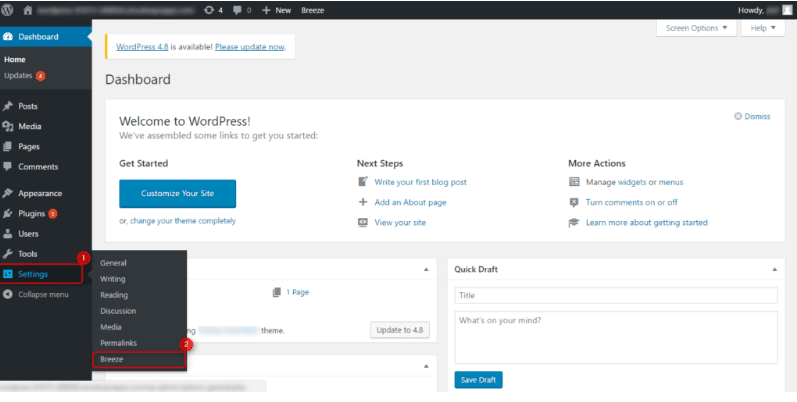
You’ll need to generate a custom API key from Breeze, which you can then use to configure your CDN. Finally, you’ll need to edit your Breeze settings to point to your CDN.
Once you’ve completed all of these steps, your website will start using your CDN automatically. You should see a significant improvement in performance, as well as reduced bandwidth usage.
If you’re not happy with the results, you can always revert back to the default settings. But if you’re looking for a way to give your website a boost, using a CDN is a great option.
Quick Links
- How To Install And Configure Breeze WordPress Cache Plugin: Step-By-Step
- How to Setup CloudwaysCDN With Your Website
- Ideal WP Super Cache Settings-Cloudflare Or Bunny CDN
Conclusion- How To Use Your Own CDN with Breeze? Complete Details 2025
If you are looking for a way to improve your website’s performance, or want to start using a CDN but don’t want to break the bank, Breeze is a great option.
You can set up your own private CDN with just a few clicks, and it only takes minutes to get started. Plus, Breeze is affordable and easy to use perfect for small businesses and bloggers who want to make sure their website loads quickly for their visitors.
Ready to try Breeze? Get started today and see the difference it makes for your website’s speed and performance.


