If you’re a WordPress user and have ever run into the issue of no featured image appearing on your pages or posts, then you know it can be extremely frustrating.
Fortunately, there is an easy solution: setting a default featured image in WordPress. Not only will this help reduce the occurrence of missing images, but it also adds a level of professionalism to your website that visitors are sure to appreciate.
In this blog post, we’ll take a look at how to set up a default featured image within WordPress and explore some tips for making the most out of this feature.
Setting A New Custom Default Image
Setting a new custom default image in WordPress is easy and can help to give your website more of a more professional and cohesive appearance. By setting a custom featured image, you can ensure that all posts, pages, and other content on your site have the same image display.
This article will provide an overview of how to set a default featured image in WordPress.
The first step is to create or upload the image you want to use for your default featured image. To do this, go to “Media” in the left side menu of your WordPress dashboard and click “Add New”.

You can then drag and drop images from your computer into the media library or upload them directly from any URL.

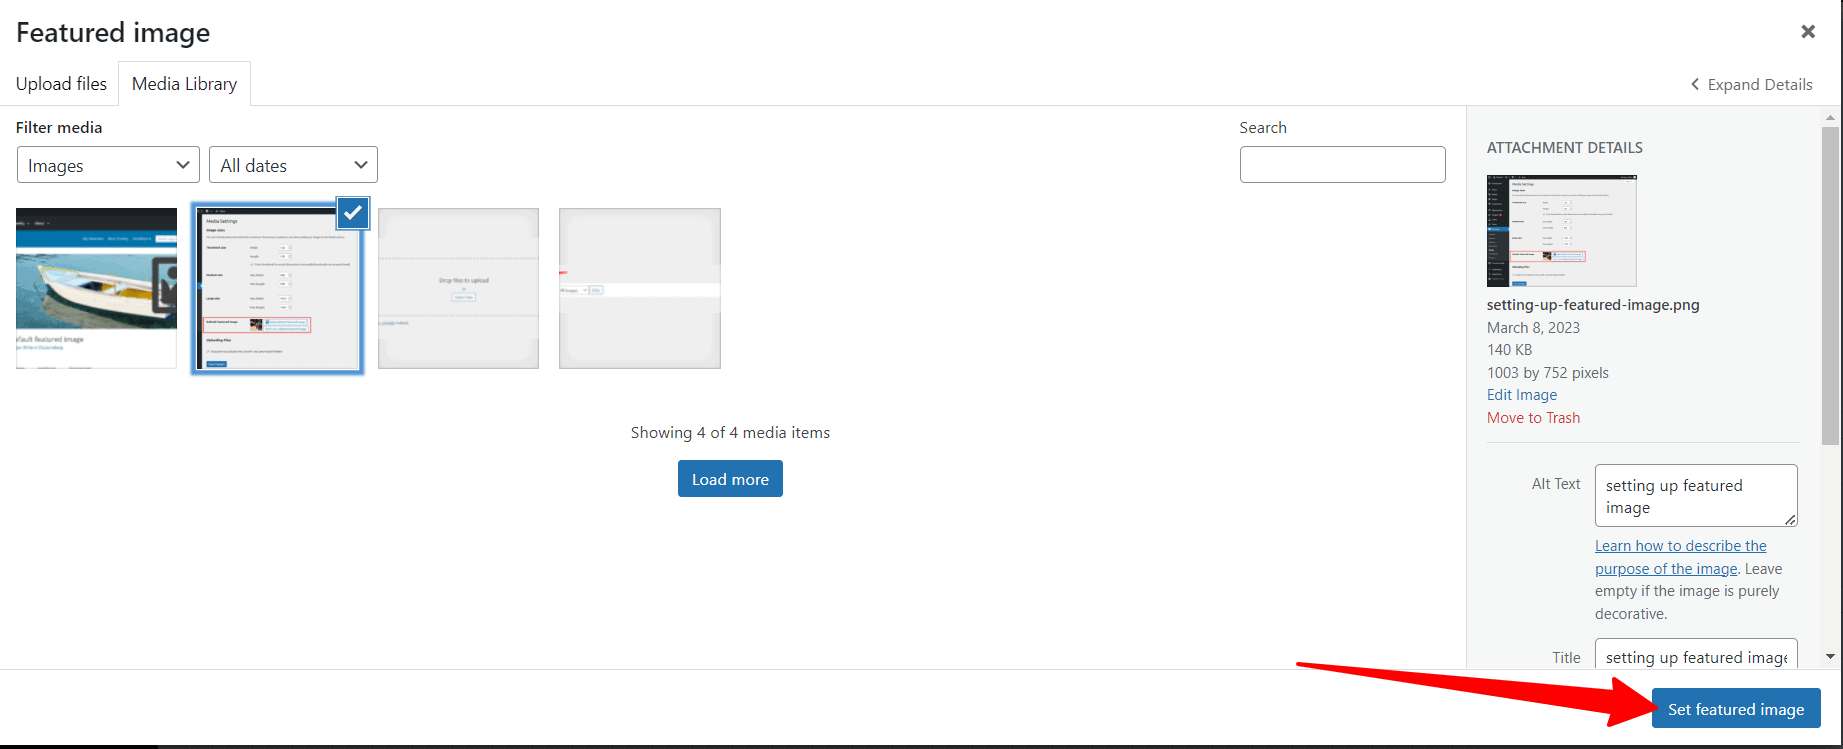
Once you’ve uploaded the desired featured image, click “Edit Image” at the bottom left corner of the page. From there, select “Set as Default Featured Image” from the drop-down menu in the top right corner.
Now that you’ve created your new custom default featured image, it will be automatically added to all posts and pages whenever they are published on your website unless another specific featured image is specified by you or another user with administrator rights. If you decide later that you want to change the default featured image, simply follow the steps above again with a different file.
When setting up a new featured image as your website’s default option, it’s important to choose an appropriate size for it so that it looks good across multiple platforms and devices without having to be resized manually each time it’s used.
The recommended size for WordPress thumbnail images is 150 x 150 pixels; however, it’s best practice to optimize this size according to each particular post or page’s needs if necessary.
In addition, make sure that you only pick one version of a given picture for use as a default featured image rather than uploading multiple versions – otherwise, profile pictures may not always show up correctly throughout different parts of your website due to inconsistencies between them (e.g., one could be slightly larger or smaller than another).
This helps keep all published content looking uniform across all devices and platforms while saving precious space in your database/hosting account at the same time!
Overall, setting a custom default featured image in WordPress is easy and can help give your website an even more professional look without much effort on your part!

It also ensures that all posts, pages, and other content on your website have consistent visuals when published – creating a more recognizable brand identity online which can draw more visitors toward them organically over time!
Default Featured Image Plugin
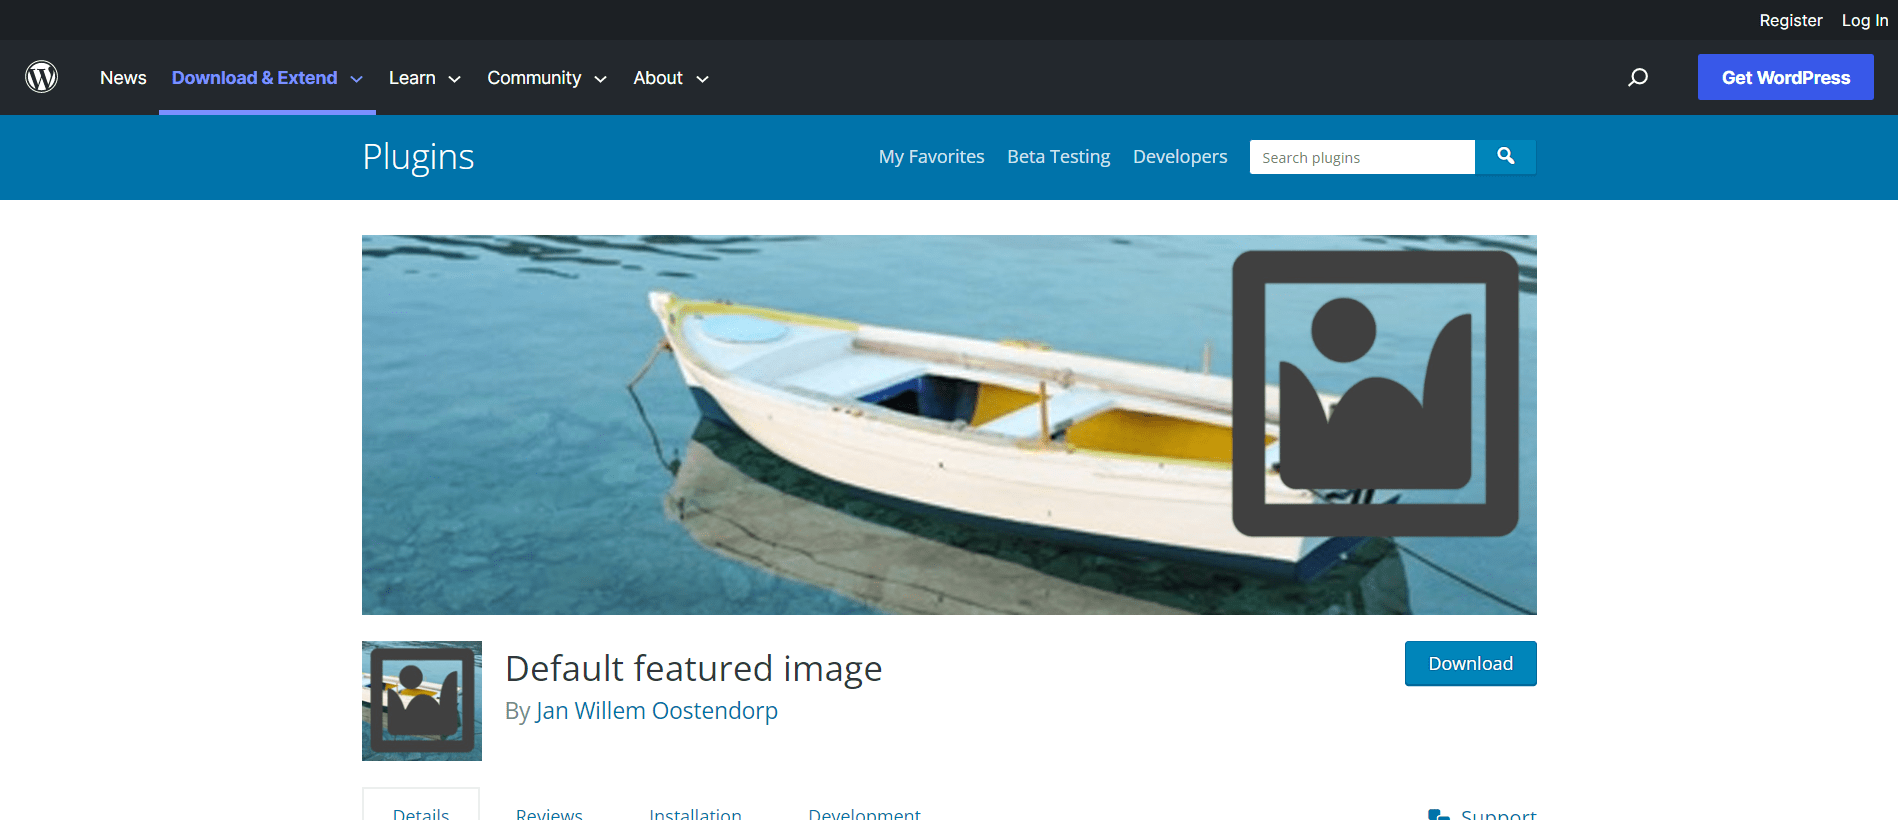
Default Featured Image Plugin is a powerful tool for WordPress administrators and developers who want to set customized default featured images on their websites. This plugin allows users to select an image or icon of their choice as the default featured image that will be used when no other image is specified.
Using Default Featured Image Plugin, users are able to choose any image they desire and have it appear in place of the traditional placeholder when no other image has been assigned. This can be particularly useful for websites with regularly posted content, such as news outlets or blogs, where it can save content creators valuable time by having a predetermined featured image already ready to go.

Default Featured Image Plugin also offers additional features such as the ability to filter featured images by category, tag, or even custom post type — making it easier to ensure that every post has its own unique visual identity without having to manually select each one individually.
Additionally, administrators are able to set up multiple rules for different post types or categories so that certain posts may always display a particular default image regardless of which other images may have been uploaded for the post.
Furthermore, Default Featured Image Plugin also makes it easy for website owners and developers to customize how default featured images appear according to specific sizes and formats. Users can specify any size from thumbnail all the way up to full-width banner images and be sure that the right version appears at precisely the right moment across every page of their site — no matter what device they’re viewing it on.
Overall, Default Featured Image Plugin is a great tool for streamlining WordPress websites of all sizes in order to make them look more professional and consistent while saving time during content creation and updating.
Whether you’re managing a blog with multiple contributors or just trying out some new design ideas on your personal portfolio site — adding customized default featured images give your site an extra level of polish that visitors will appreciate!
Setting Your Post’s First Image as the Default Featured Image
Setting a post’s first image as the default featured image in WordPress is an easy way to make sure that all posts on your website have a consistent look and feel. It also ensures that no matter how new or old a post might be, each one will still have an aesthetically pleasing featured image visible at the top of the page.
This can be especially helpful for sites with blog feeds or listings that feature lots of different posts from multiple authors.
The process of setting up a default featured image is simple and straightforward. First, you’ll need to find or create the image itself; this can be anything from stock photography to artwork made by yourself. Once you’ve settled on an appropriate image, simply upload it to your site either through the WordPress media library or via FTP.
You’ll then want to find its URL so that you can easily locate it when needed (this should be as simple as right-clicking on the image in question and selecting “Copy Image Address” or something similar).
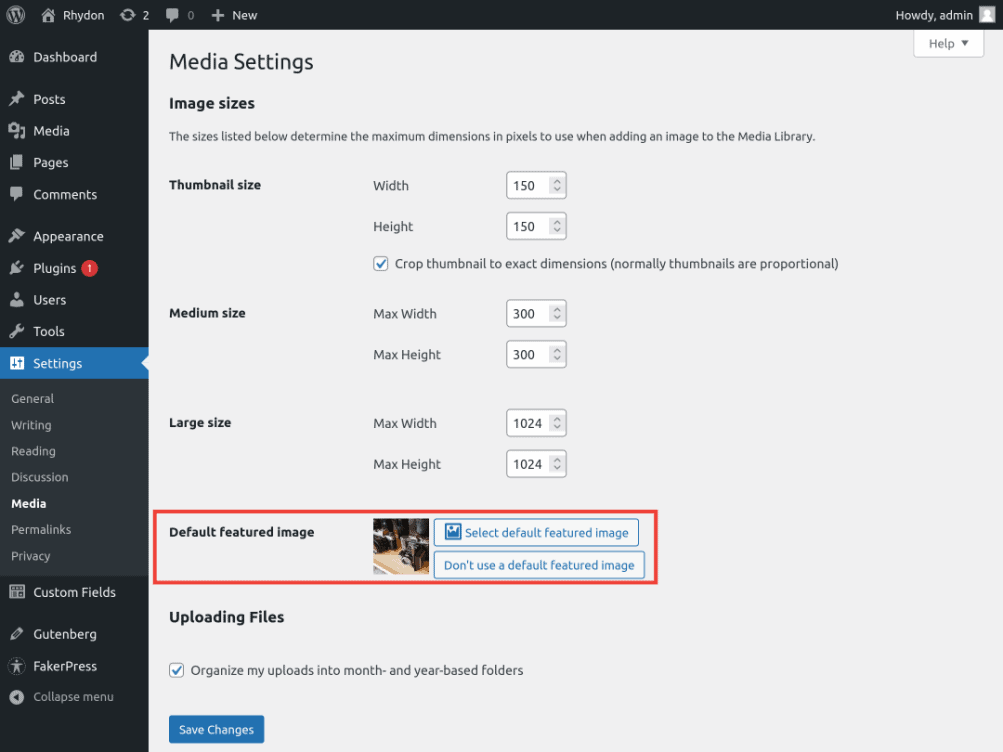
Once you’ve got your desired featured image uploaded and ready to go, open up your WordPress dashboard and navigate to Settings > Media.
In this section, you will see a box labeled “Default Featured Image”; click this box, then select “Choose Image” and paste in the previously copied URL for your desired default featured image. Then simply hit save changes at the bottom of the page and voilà! You’re now set up with a WordPress default featured image for all future posts.

It’s important to note that while having a consistent look across all posts is ideal, setting a default featured image isn’t always necessary; some sites may opt instead for allowing users/authors to choose unique images for each post they write if they prefer.
However, if uniformity is desired, setting a default featured image can go a long way toward giving any website maintained by multiple people an organized aesthetic feel.
Other Ideas For Featured Images
Although setting a default featured image in WordPress is certainly an option, there are other ideas that can be used to create visually appealing featured images. A featured image can be used to set the tone of a post, highlight important points, or even draw attention to key elements of the content.
Here are some examples of other ideas for featured images:
● Creative Photography: Photos have become one of the most popular ways to add visual interest to posts. If you don’t have access to professional photos, consider taking creative and interesting photos yourself with a digital camera or smartphone. You can also source high-quality stock photos from various online sources.
● Clip Art Graphics: Vector artwork and illustrations can be a great way to add color, fun, and meaning to your featured images. Many websites offer free clip art graphics and illustrations that are easily customizable for your needs.
● Custom Infographics: Another way to make sure that your post stands out is by creating custom infographics with data visualizations and charts. This kind of imagery can help simplify complex information into an easy-to-understand format while still providing stunning visuals. There are many tools available on the web that you can use to create attractive infographics quickly and easily.
● Animated GIFs: Moving animations have become very popular lately as they grab people’s attention more quickly than static images do. Animated GIFs are eye-catching in design and provide more motion than traditional still images do. With free tools available online, it’s easier than ever before to create custom animated GIFs with unique designs related to your posts’ content.
In addition, there are a variety of other options such as memes or text banners that you could use for your featured images depending on the context in which they will be used for each post.
The possibilities for creative imagery go far beyond static images; think outside the box when it comes to choosing how best to represent the content of your post with an interesting featured image!
Also Read:
- Tips To Reduce WordPress Database Size
- How To Make Fewer HTTP Requests In WordPress: Guide
- How To Remove Unused JavaScript In WordPress: Guide
Conclusion
WordPress is a great platform for creating a website or blog. One of the features that it offers is the ability to set a default featured image. This can be helpful if you want all of your posts to have an image, but don’t want to go through and manually set one for each post. Setting a default featured image in WordPress is easy and only takes a few seconds.
Once you’ve done it, all of your future posts will have an image automatically added to them.

