AI-Powered
Digital Marketing Agency
That Drives Global Growth


We fuse human expertise with artificial intelligence to deliver bespoke digital marketing strategies. From India to the USA, we help businesses capture markets, accelerate growth, and achieve measurable results.

One-Stop Digital Marketing Services India, USA
Our digital marketing services go beyond the basics, offering tailored solutions that align with your unique business goals. We leverage advanced analytics to identify high-potential opportunities, craft compelling narratives to engage your audience, and optimize every campaign for maximum ROI. With a proven track record of generating millions in revenue and thousands of leads, we empower your brand to connect with customers across India and the USA, fostering loyalty and driving sustainable growth.
Boost Revenue
2X to 6x
Social Media Management
4X to 8X
Brand Exposure
100 to 1000%
Improved Leads
3X to 8X
Client-Centric Excellence
5X to 10X
Sales Growth Acceleration
10K to 100M
Why Choose DigiExe?
We’re not just another agency. We are your strategic growth partner, blending global expertise with a core AI engine to become one of the best digital marketing agencies in India and the USA.
🌏 Global Expertise (India & USA)
With core teams in both India and the USA, we offer a unique blend of cost-efficiency and market-leading innovation.
🤖 AI-Powered Core
Our proprietary AI tools analyze markets and predict trends, giving you a decisive competitive advantage.
🚀 Fully Integrated Approach
From SEO to App Development, we provide a seamless, unified strategy where every channel works in perfect synergy.
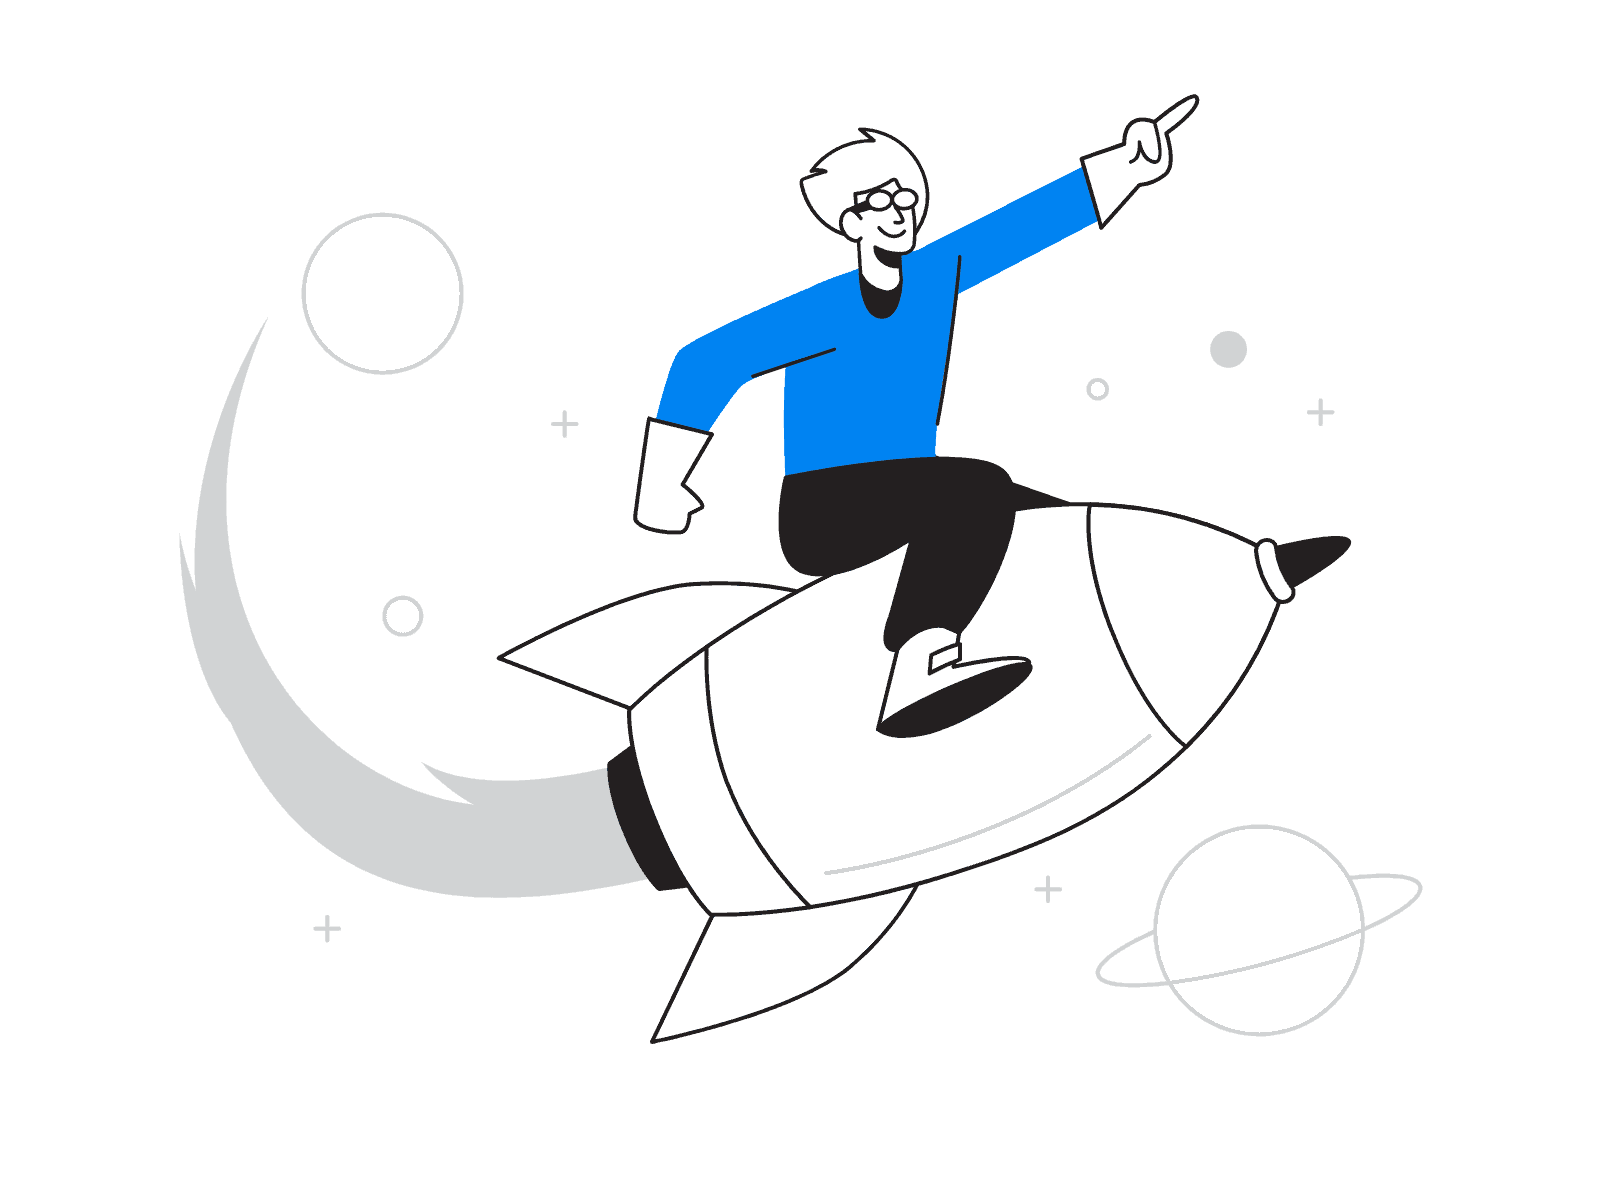
Digiexe Digital Marketing Services
Clients
We have more than 110 active clients from across the Globe
Team
We have a team of 25 professionals working under the same roof
Community
We have organized more than 50 Webinars and workshops.
Partners
Launch high-ROI campaigns on Google Ads and social media to attract qualified leads.
Growth
40% above company growth per annum
Experience
8 years of significant industry experience
Jitendra Vaswani
- CEO
- Digital Nomad
Jitendra Vaswani serves as the visionary CEO of Digiexe Limited, steering the best digital marketing agency in India and USA toward global excellence. A renowned international keynote marketing speaker and seasoned digital marketing practitioner, Jitendra embodies the spirit of a digital nomad, leveraging his worldwide experiences to inspire innovation. He is the founder and driving force behind BloggersIdeas.com, a highly respected Internet marketing blog where he has hosted insightful interviews with marketing icons such as Neil Patel, Grant Cardone, and Rand Fishkin, cementing his status as a thought leader in the industry. His leadership has propelled Digiexe to deliver transformative results for clients across diverse markets.
What our Customers Say


Clients We've worked with








The Digital Strategies Digiexe Employed
Multi-Funnel Keyword Targeting
We identified and optimized for top-of-funnel keywords to build awareness, alongside bottom-of-funnel terms to drive conversions, ensuring a comprehensive reach.
Cornerstone Blog Posts
We developed authoritative, 2,000–3,000 word blog posts for the company’s site, establishing thought leadership and attracting organic traffic.
NLP and Entity-Based SEO
Utilizing natural language processing and entity optimization, we enhanced content relevance and search engine understanding, improving rankings.
Technical Optimization
We refined internal linking structures, enriched FAQs, implemented schema markup, and optimized core web vitals (e.g., page speed, mobile usability) for a seamless user experience.
High DA Link Outreach
Our strategic outreach secured high-domain-authority backlinks, amplifying the brand’s credibility and search visibility. This multi-layered strategy resulted in a 325% signup surge, showcasing our expertise in driving organic growth.

What we do at best
At Digiexe, we excel in delivering dependable digital marketing services in India and USA, drawing on our global expertise to empower your business online. With offices strategically located to serve international markets, including Thailand, our team of seasoned professionals specializes in a wide range of services designed to elevate your brand and drive success.
AI-Powered SEO
Harness predictive analytics and machine learning to dominate search rankings in the USA, India, and other global markets.
Conversion Rate Optimization
Our expert team analyzes user behavior, A/B tests landing pages, and implements data-driven changes to turn visitors into loyal customers, boosting conversion rates by up to 50%.
Web & App Development
We build high-performance, scalable websites and mobile applications that deliver exceptional user experiences and drive conversions.
Free Technical SEO-Audit
We evaluate up to 200 pages, identifying and fixing broken links, missing alt texts, and other technical issues to improve site health.
Social Media Marketing
We craft organic, targeted campaigns across platforms, growing your audience and enhancing brand awareness with creative content.
Optimized Paid Advertising (PPC)
Maximize your return on ad spend with AI-powered campaign management across Google Ads, Meta, and LinkedIn for global reach.
Blog & Content Marketing
Our AI analyzes trends to create high-impact content that engages your target audience, builds authority, and fuels your sales funnel.
Website Development
Build custom, responsive web portals or stunning portfolios tailored to your startup or established business needs.
Website & graphic design
Our designs blend aesthetics with functionality, creating graphics that captivate users and convert them into revenue-generating customers.
Our Products

CTR-Ready Affiliate Blocks
- Choose from ready-made designs
- Optimize your affiliate pages
- Start getting more clicks & sales
- Powerful Editing Features
- Responsive Gutenberg Blocks
Digiexe in Numbers


Best Digital Marketing Agency in India
Driving Results and Growth
Welcome to Digiexe Limited, your premier digital marketing agency in India and USA, dedicated to unlocking transformative growth for your business. Led by Jitendra Vaswani, our award-winning team blends cutting-edge tools, innovative strategies, and a passion for excellence to deliver measurable results. We empower brands to thrive across both markets with tailored solutions that turn potential into profit.
With 71% of customers more likely to recommend a brand after a positive social media experience, we craft impactful campaigns that resonate and drive word-of-mouth growth. Additionally, with 90% of searchers undecided at the start of their journey, we position your business as the top choice through optimized SEO, PPC, and content strategies. Our comprehensive services spanning social media marketing, web design, content creation, and more enhance every click and interaction to fuel your online presence.
Ready to Dominate Your Market
Let's talk about your goals and how AI-driven strategies can help you achieve them
FAQs
How much does a website redesign cost?
Costs vary significantly based on factors like website complexity, number of pages, custom features, and design revisions. We'll provide a detailed quote after discussing your specific needs
How long does it take to build a website?
Project timelines depend on the scope and complexity of the website. Simple websites might take a few weeks, while complex e-commerce platforms could take several months. We'll provide a timeline in your project proposal.
Do you offer website maintenance and support?
Yes, we offer various website maintenance packages, including updates, security monitoring, and technical support.
Will my website be mobile-friendly?
Absolutely. All our websites are designed to be responsive, ensuring optimal viewing and functionality across all devices (desktops, tablets, and smartphones).
Do you provide website content?
We can provide content creation services, including copywriting and image sourcing, or we can work with content you provide.
What digital marketing services do you offer?
We offer a range of services, including SEO, social media marketing, PPC advertising, email marketing, content marketing, and analytics.
How long does it take to see results from SEO?
SEO is a long-term strategy. Results can take several months, depending on factors like website competition and the current state of your website.


